Sections
Overview
Creating a Portable DanceWizard
Updating a Portable DanceWizard
Using a Portable DanceWizard
Overview
DanceWizard can be installed on a USB drive for use on computers that do not have DanceWizard installed. This is useful if you discover your laptop is having issues and are able to borrow a different laptop.
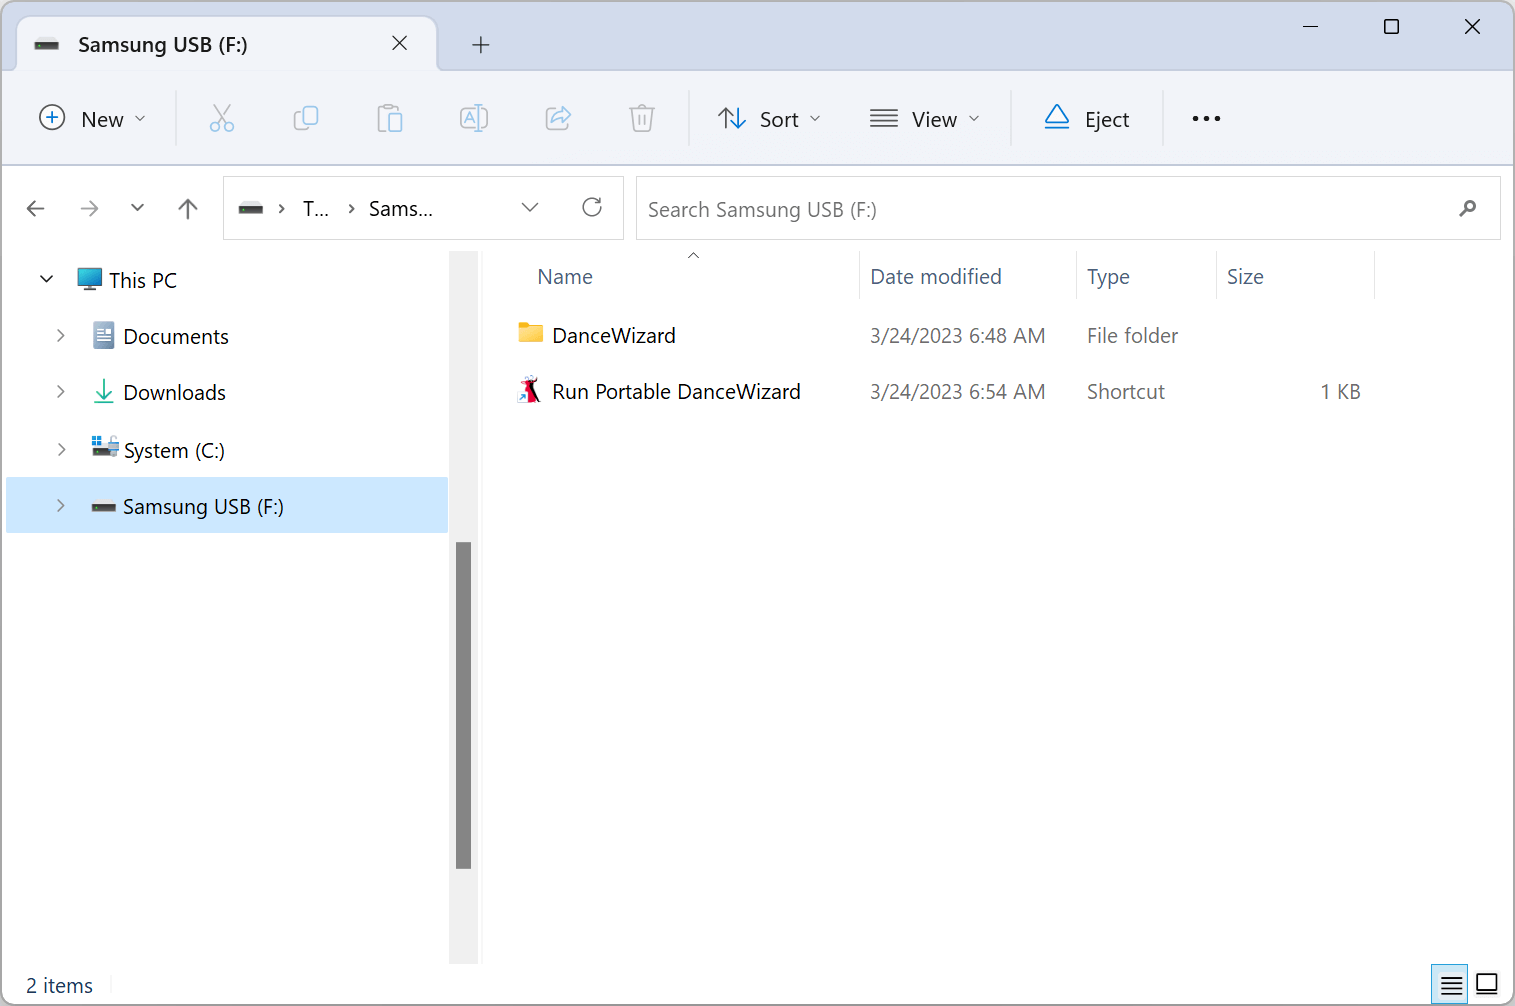
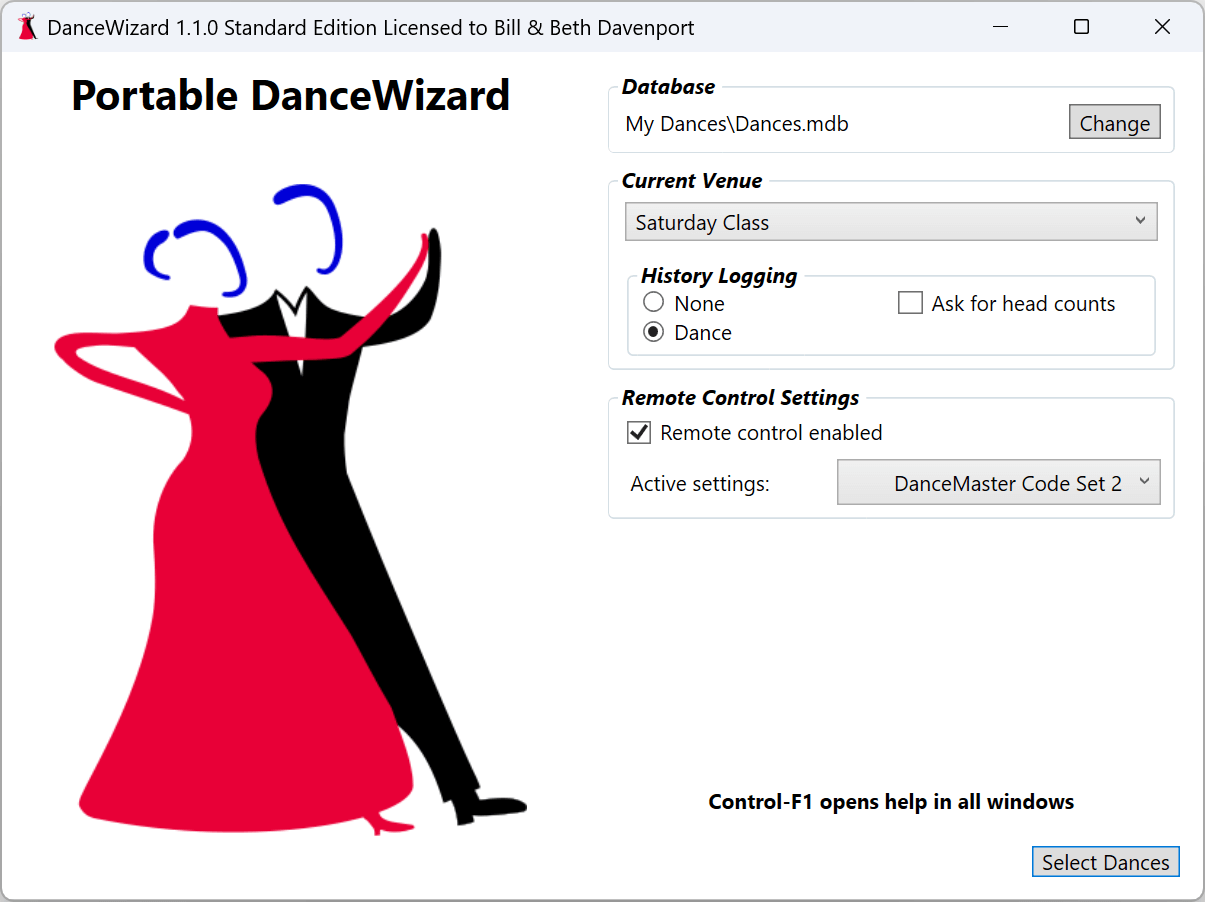
The Portable DanceWizard will have a complete copy of your dance database, all cue cards, cue sheets, music and voice cues audio files, programs, and videos (if selected). Clicking on the Run Portable DanceWizard shortcut (installed in the root directory of the USB drive) will start DanceWizard running from the USB drive.
When running in portable mode DanceWizard will make no changes to the laptop it’s running on.
Creating a Portable DanceWizard
You can create a Portable DanceWizard by selecting the Make Portable option on the File menu.
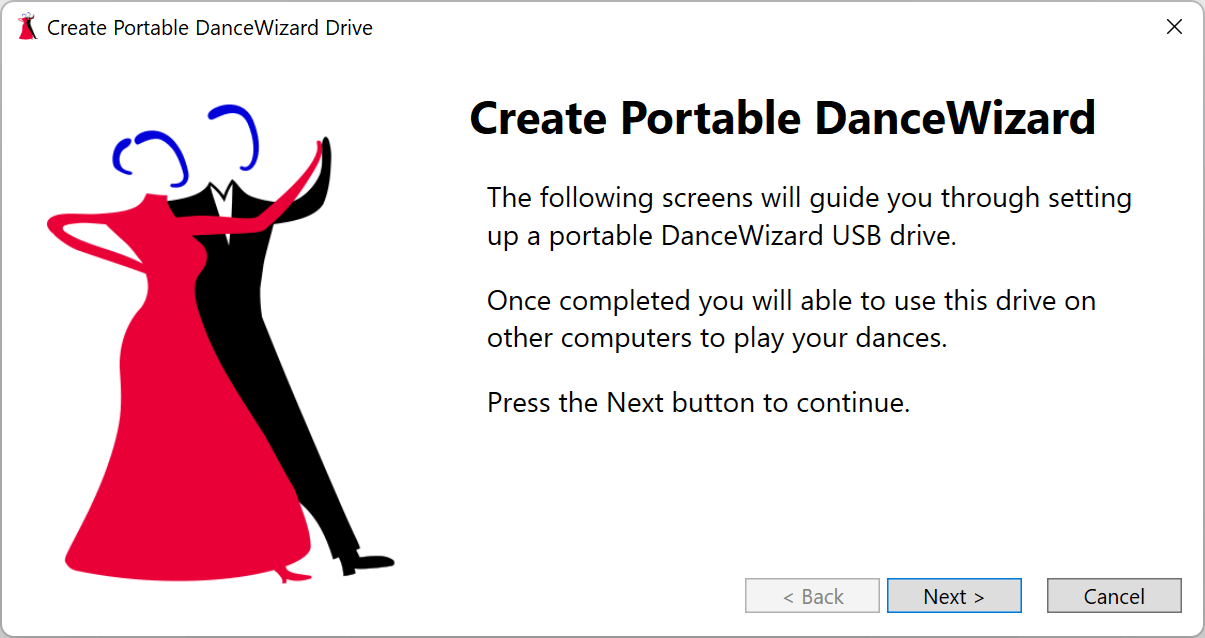
This will open a wizard to walk you through steps of creating a portable drive.
Pressing Next will bring you to the drive selection screen.
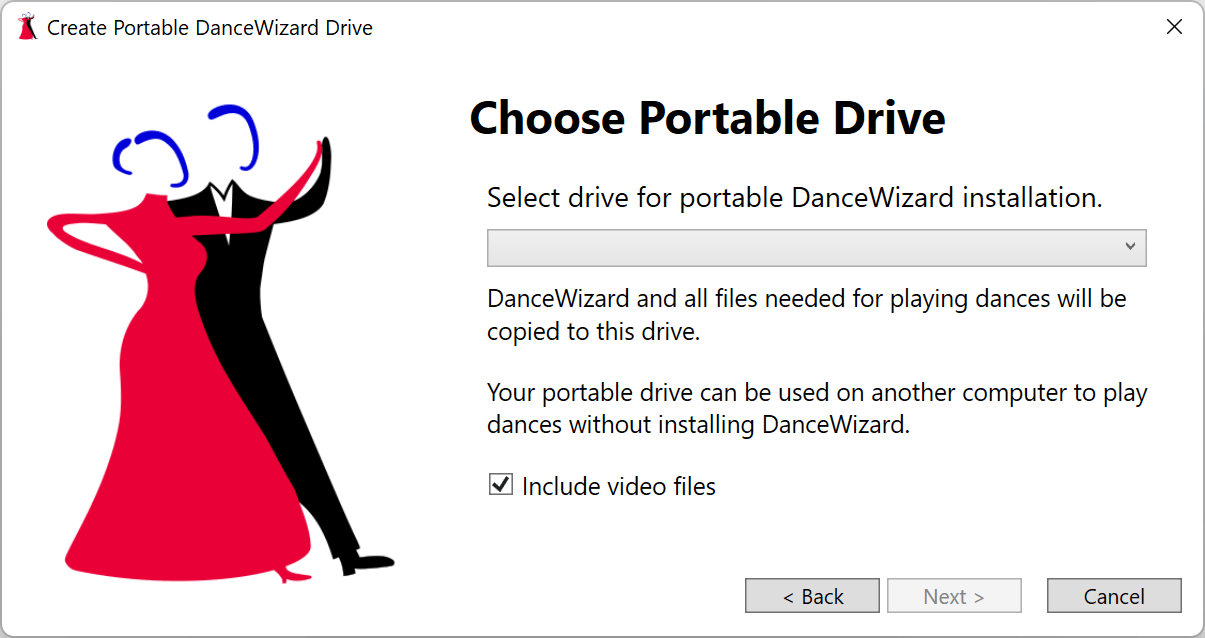
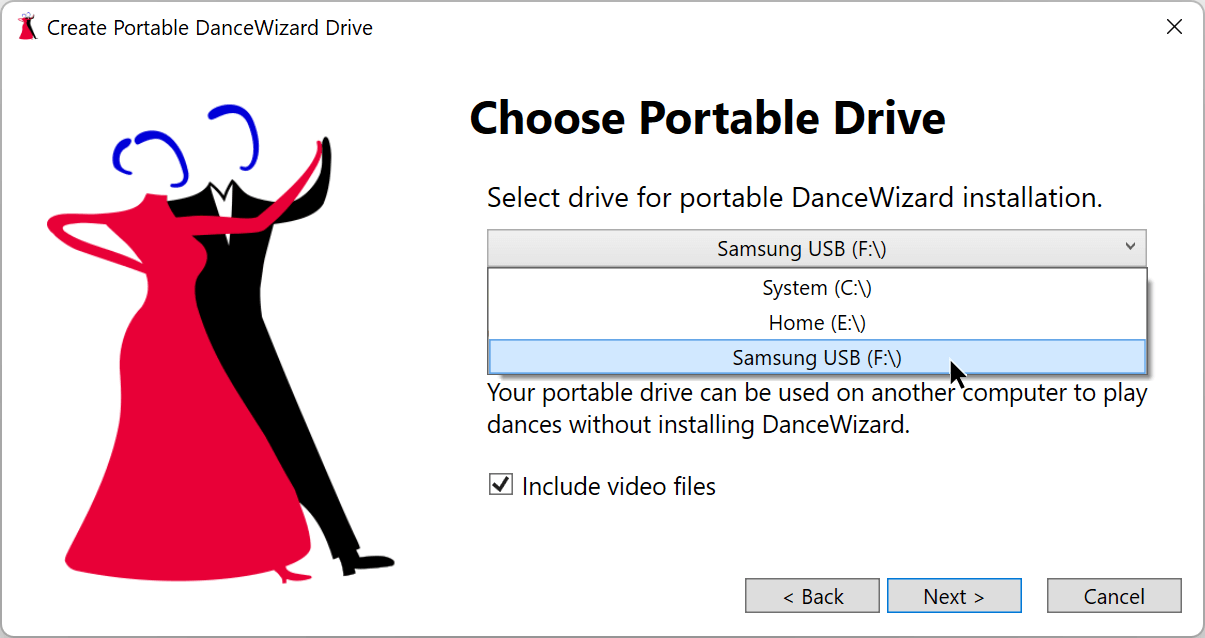
Clicking the dropdown box will list out the potential drives where a Portable DanceWizard can be created. Choose the USB drive you have inserted into your system. On this screen you can also choose whether or not your dance video files (from the Video Files folder) are copied to the portable drive.
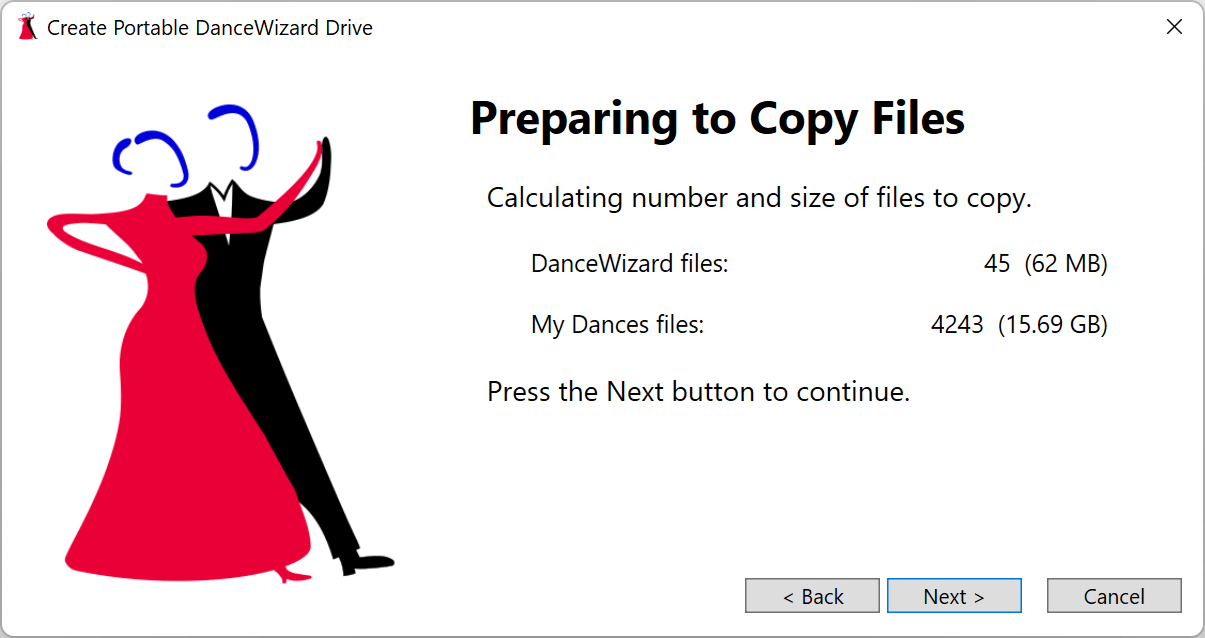
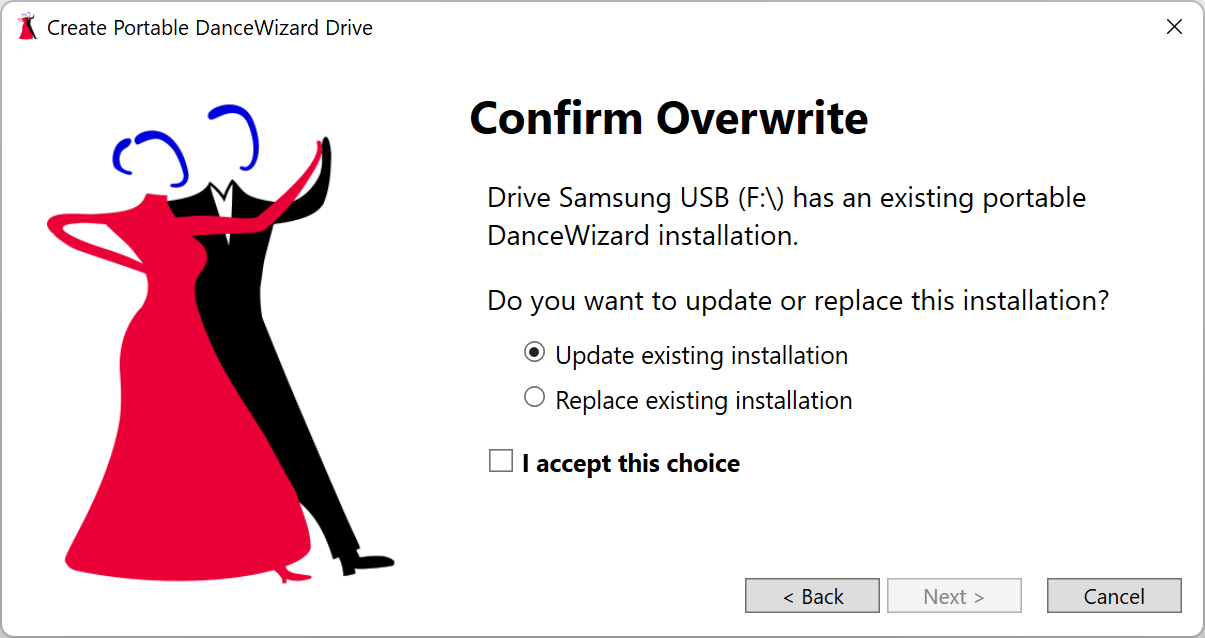
If the drive doesn’t contain a Portable DanceWizard installation then DanceWizard will determine how many files need to be copied. If a previous installation is present you will be prompted to update or replace the installation (see Updating a Portable DanceWizard).
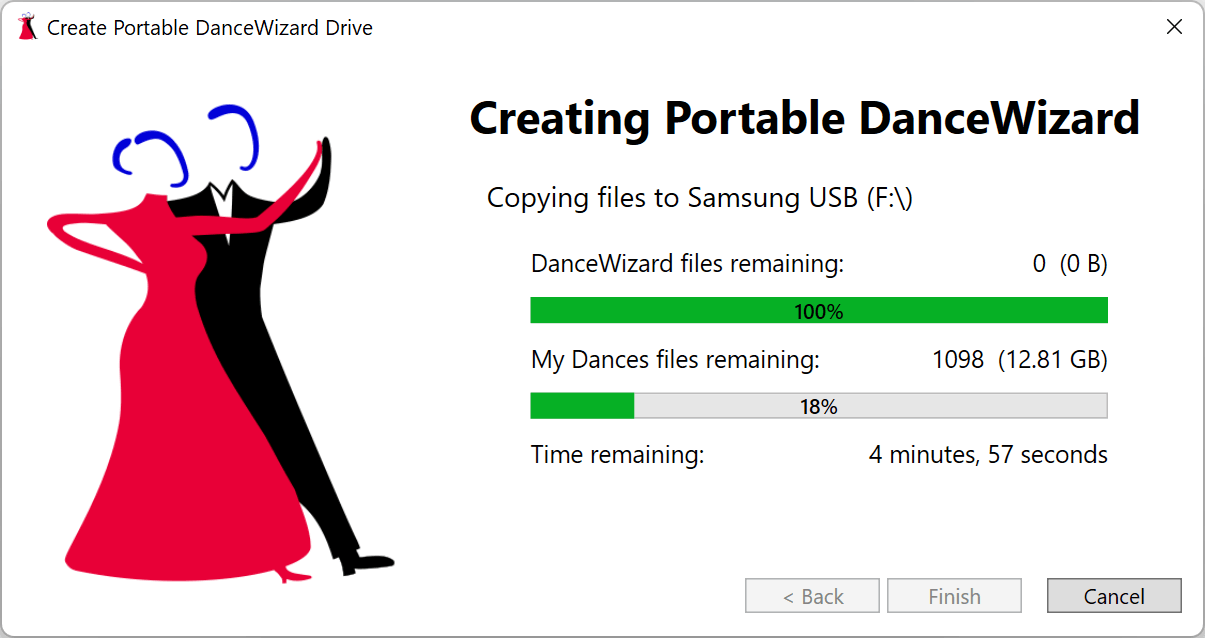
Press the Next button to start the copy process. A window is displayed so you can track the progress of creating the USB drive. Once some files are copied DanceWizard will display an estimated time remaining.
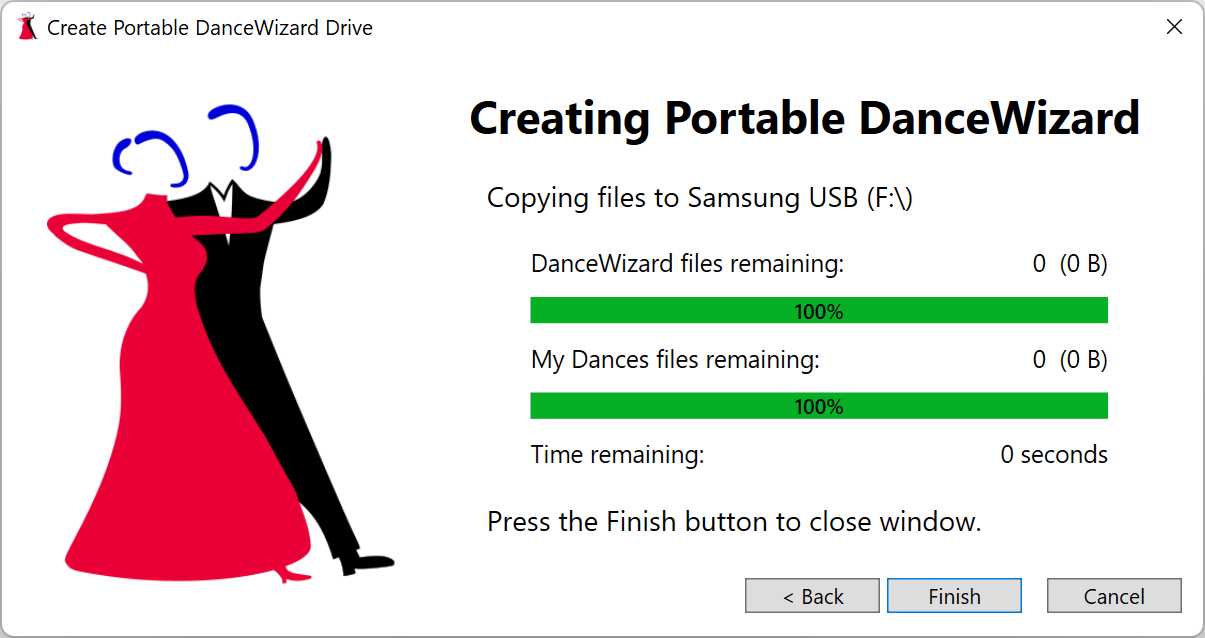
Once all files are copied a final window will display. Click the Finish button to complete the process of creating a Portable DanceWizard USB drive.
Updating a Portable DanceWizard
You can update an existing Portable DanceWizard by selecting the Make Portable option on the File menu.
This will open a wizard to walk you through steps of updating your USB drive.
Pressing Next will bring you to the drive selection screen.
Clicking the dropdown box will list out the potential drives where a Portable DanceWizard can be created. Choose the USB drive you have inserted into your system. On this screen you can also choose whether or not your dance video files (from the Video Files folder) are copied to the portable drive.
If you drive already has a Portable DanceWizard installed you will be prompted to either update the drive or to completely rewrite the portable installation.
Once you have confirmed your choice the set of files to be copied to the drive will be located by DanceWizard.
Press the Next button to start the copy process.
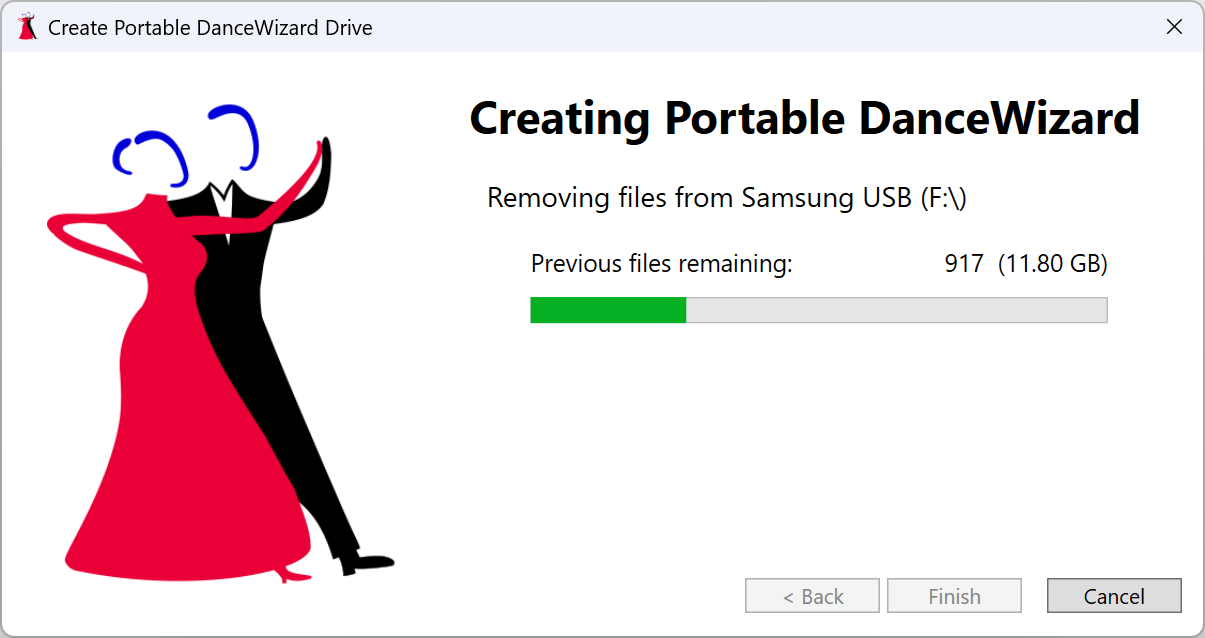
If you chose to replace your existing installation DanceWizard will display a progress screen showing the removal of the previous installation.
A window is displayed so you can track the progress of creating the USB drive. Once some files are copied DanceWizard will display an estimated time remaining.
Once all files are copied a final window will display. Click the Finish button to complete the process of creating a Portable DanceWizard USB drive.
Using a Portable DanceWizard
After inserting your Portable DanceWizard USB drive into another computer you should open Windows File Explorer (this might automatically open to the USB drive when it’s inserted).
Double click the Run Portable DanceWizard to start DanceWizard running.


