Sections
Overview
Timing a Dance
Auto Timing a Dance
Overview
Timing a dance enables several DanceWizard features.
- Karaoke Cueing
- Starting Music at Specific Cues
- Bookmarks
- Tempo Tracking
Karaoke Cueing
While playing a timed dance each cue is highlighted at the time you should speak the cue. This allows you to easily find the current location in the dance if you look away from the cue card to watch the dancers. The cue card is automatically scrolled to keep the current cue in view.
Starting Music at Specific Cues
Starting the dance at a specific point is done by double clicking the cue where you would like the music to begin playing.
When Play is pressed the music starts earlier than the selected cue (how much earlier is controlled by the Dance music lead-in time setting located on the General tab of the Settings window). If the dance has voice cues enabled then they are muted during music lead-in.
See the Music Lead-In Time topic for more information on dance music lead-in.
Double clicking a cue while the dance is playing jumps directly to that location in the music (with no music lead-in).
Bookmarks
Setting a bookmark at a specific cue is done by double clicking the cue and pressing one of the function keys (F1 through F9). There is also a bookmark editor where the cue for a bookmark can be selected from a list of all cues in the dance when the dance has karaoke timing. See the Bookmark Editor section for more information.
Starting the dance at a bookmark is done by clicking the bookmark where you would like the music to begin playing.
When Play is pressed the music starts earlier than the bookmark (how much earlier is controlled by the Dance music lead-in time setting located on the General tab of the Settings window). If the dance has voice cues enabled then they are muted during music lead-in.
See the Music Lead-In Time topic for more information on dance music lead-in.
Clicking a bookmark while the dance is playing jumps directly to the location of the bookmark in the music (with no music lead-in).
Tempo Tracking
If timing information is available DanceWizard can determine the number of beats per minute the dance is playing at and warn you if the music is too fast or too slow. See the Playback Speed section of the Playing Dances topic for more information.
Timing a Dance
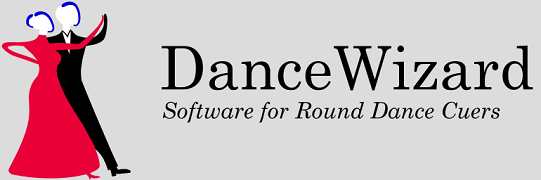
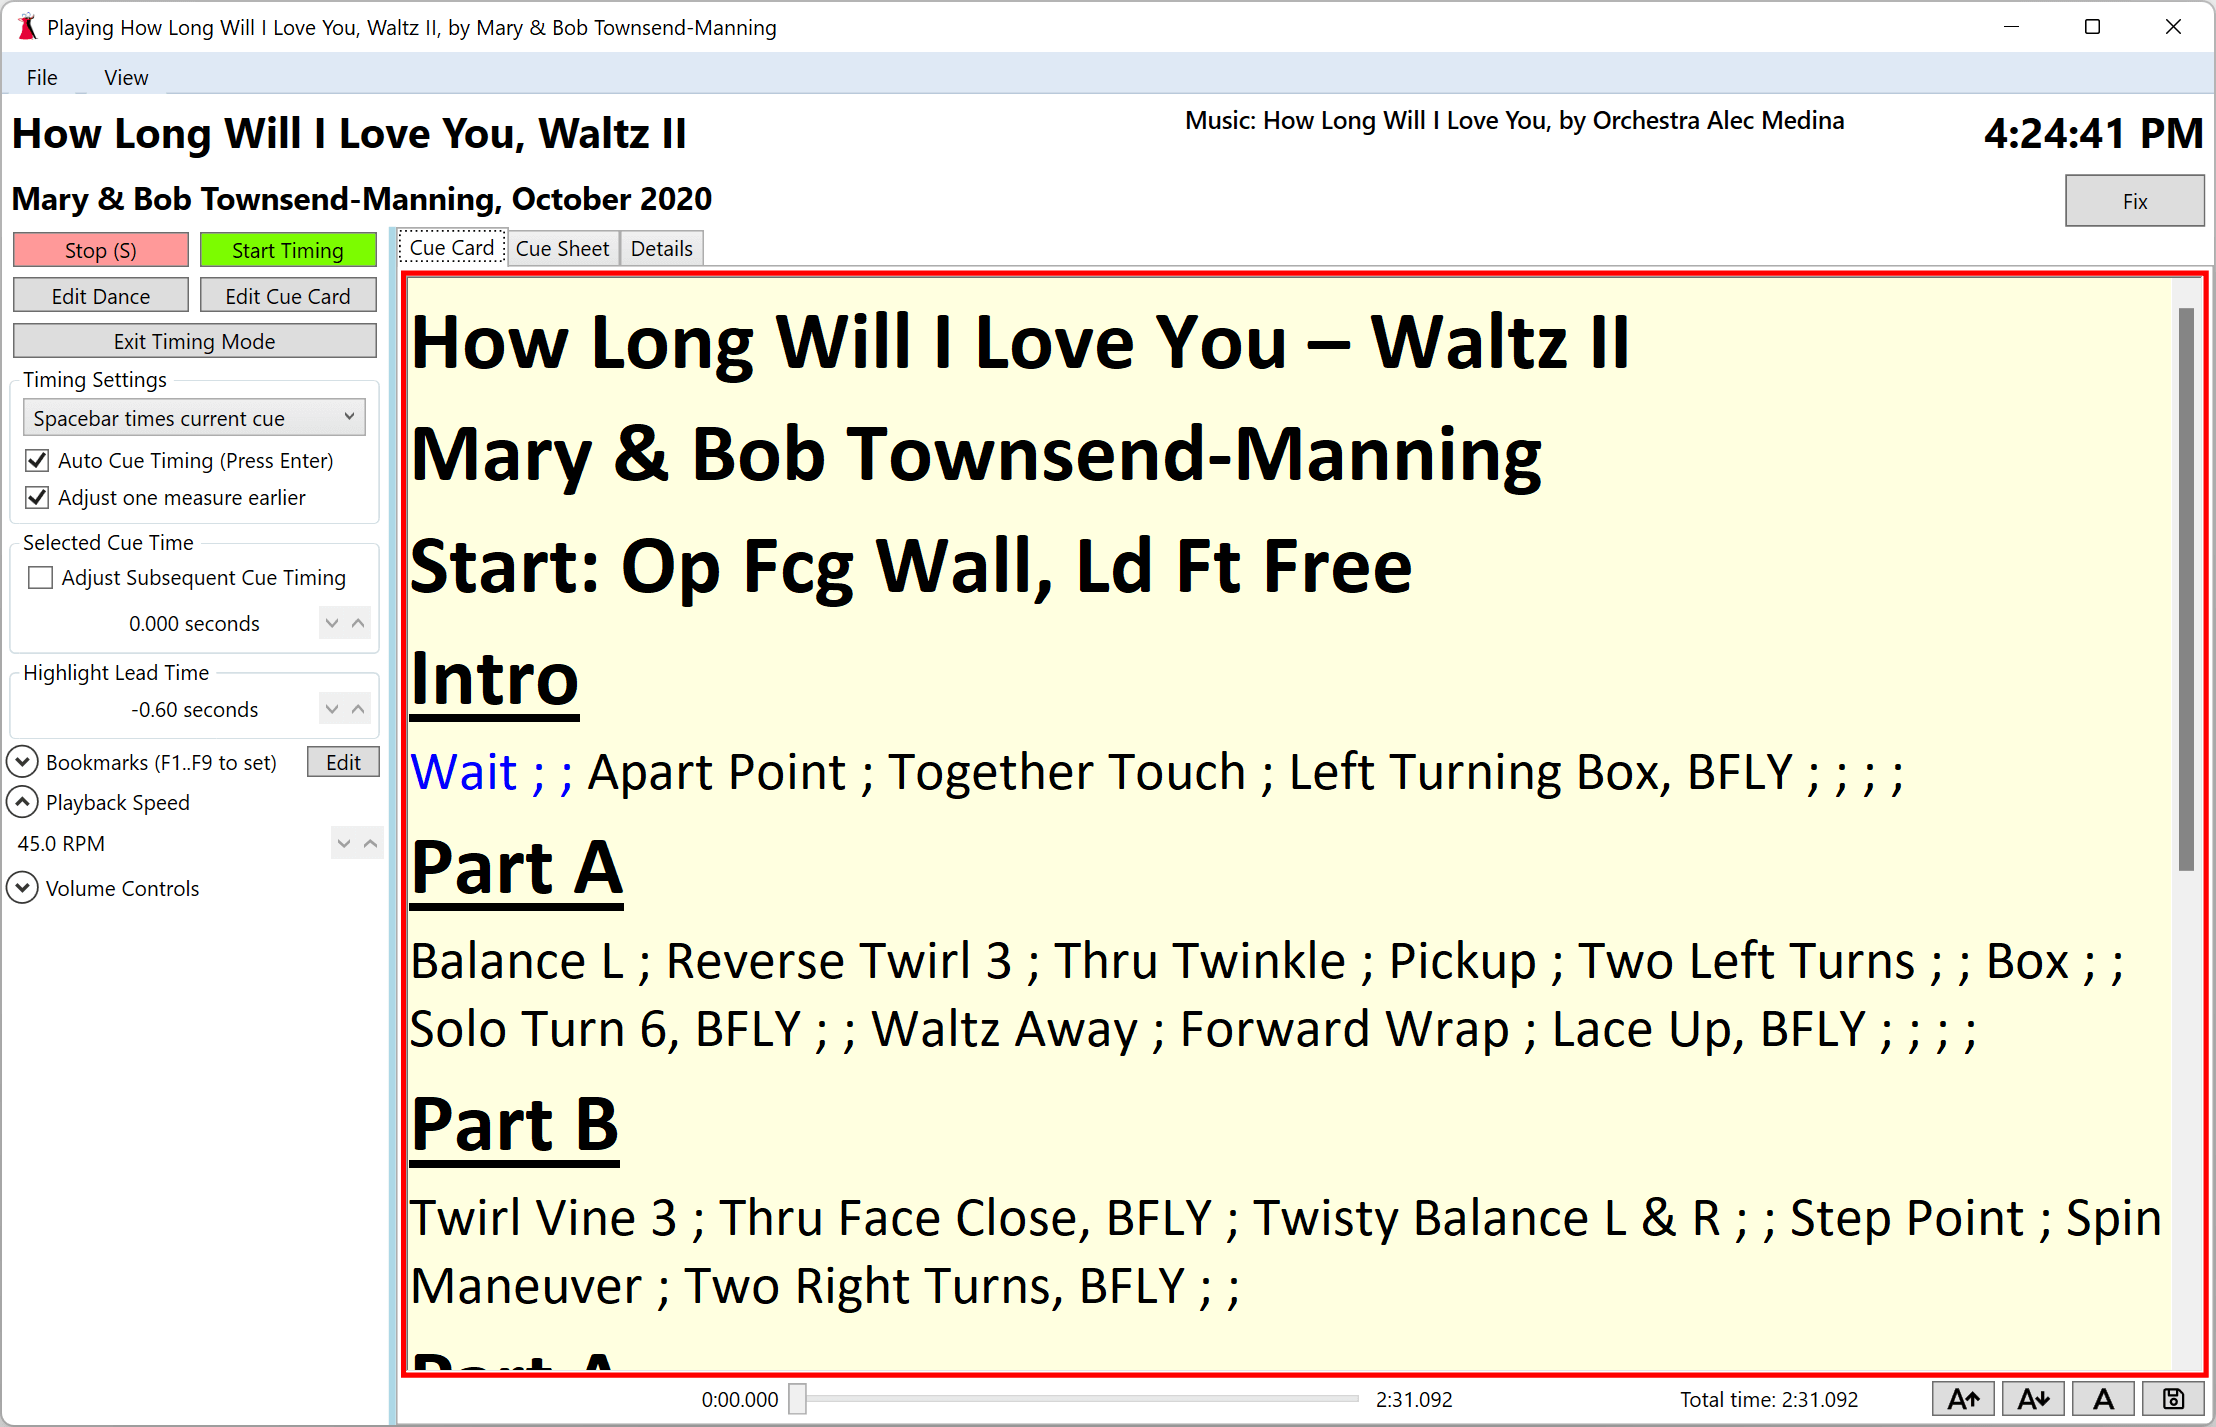
Timing a dance is done from the Play window. The cue card of an untimed dance displays a white background.
A dance with timing displays the cue card with a light yellow background (this can be customized - see Cue Card Settings for additional information).
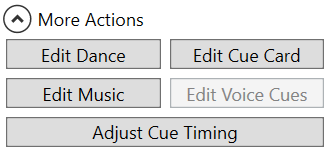
Click the
caret next to More Actions to expand the section if it is collapsed. The
caret collapses the section.
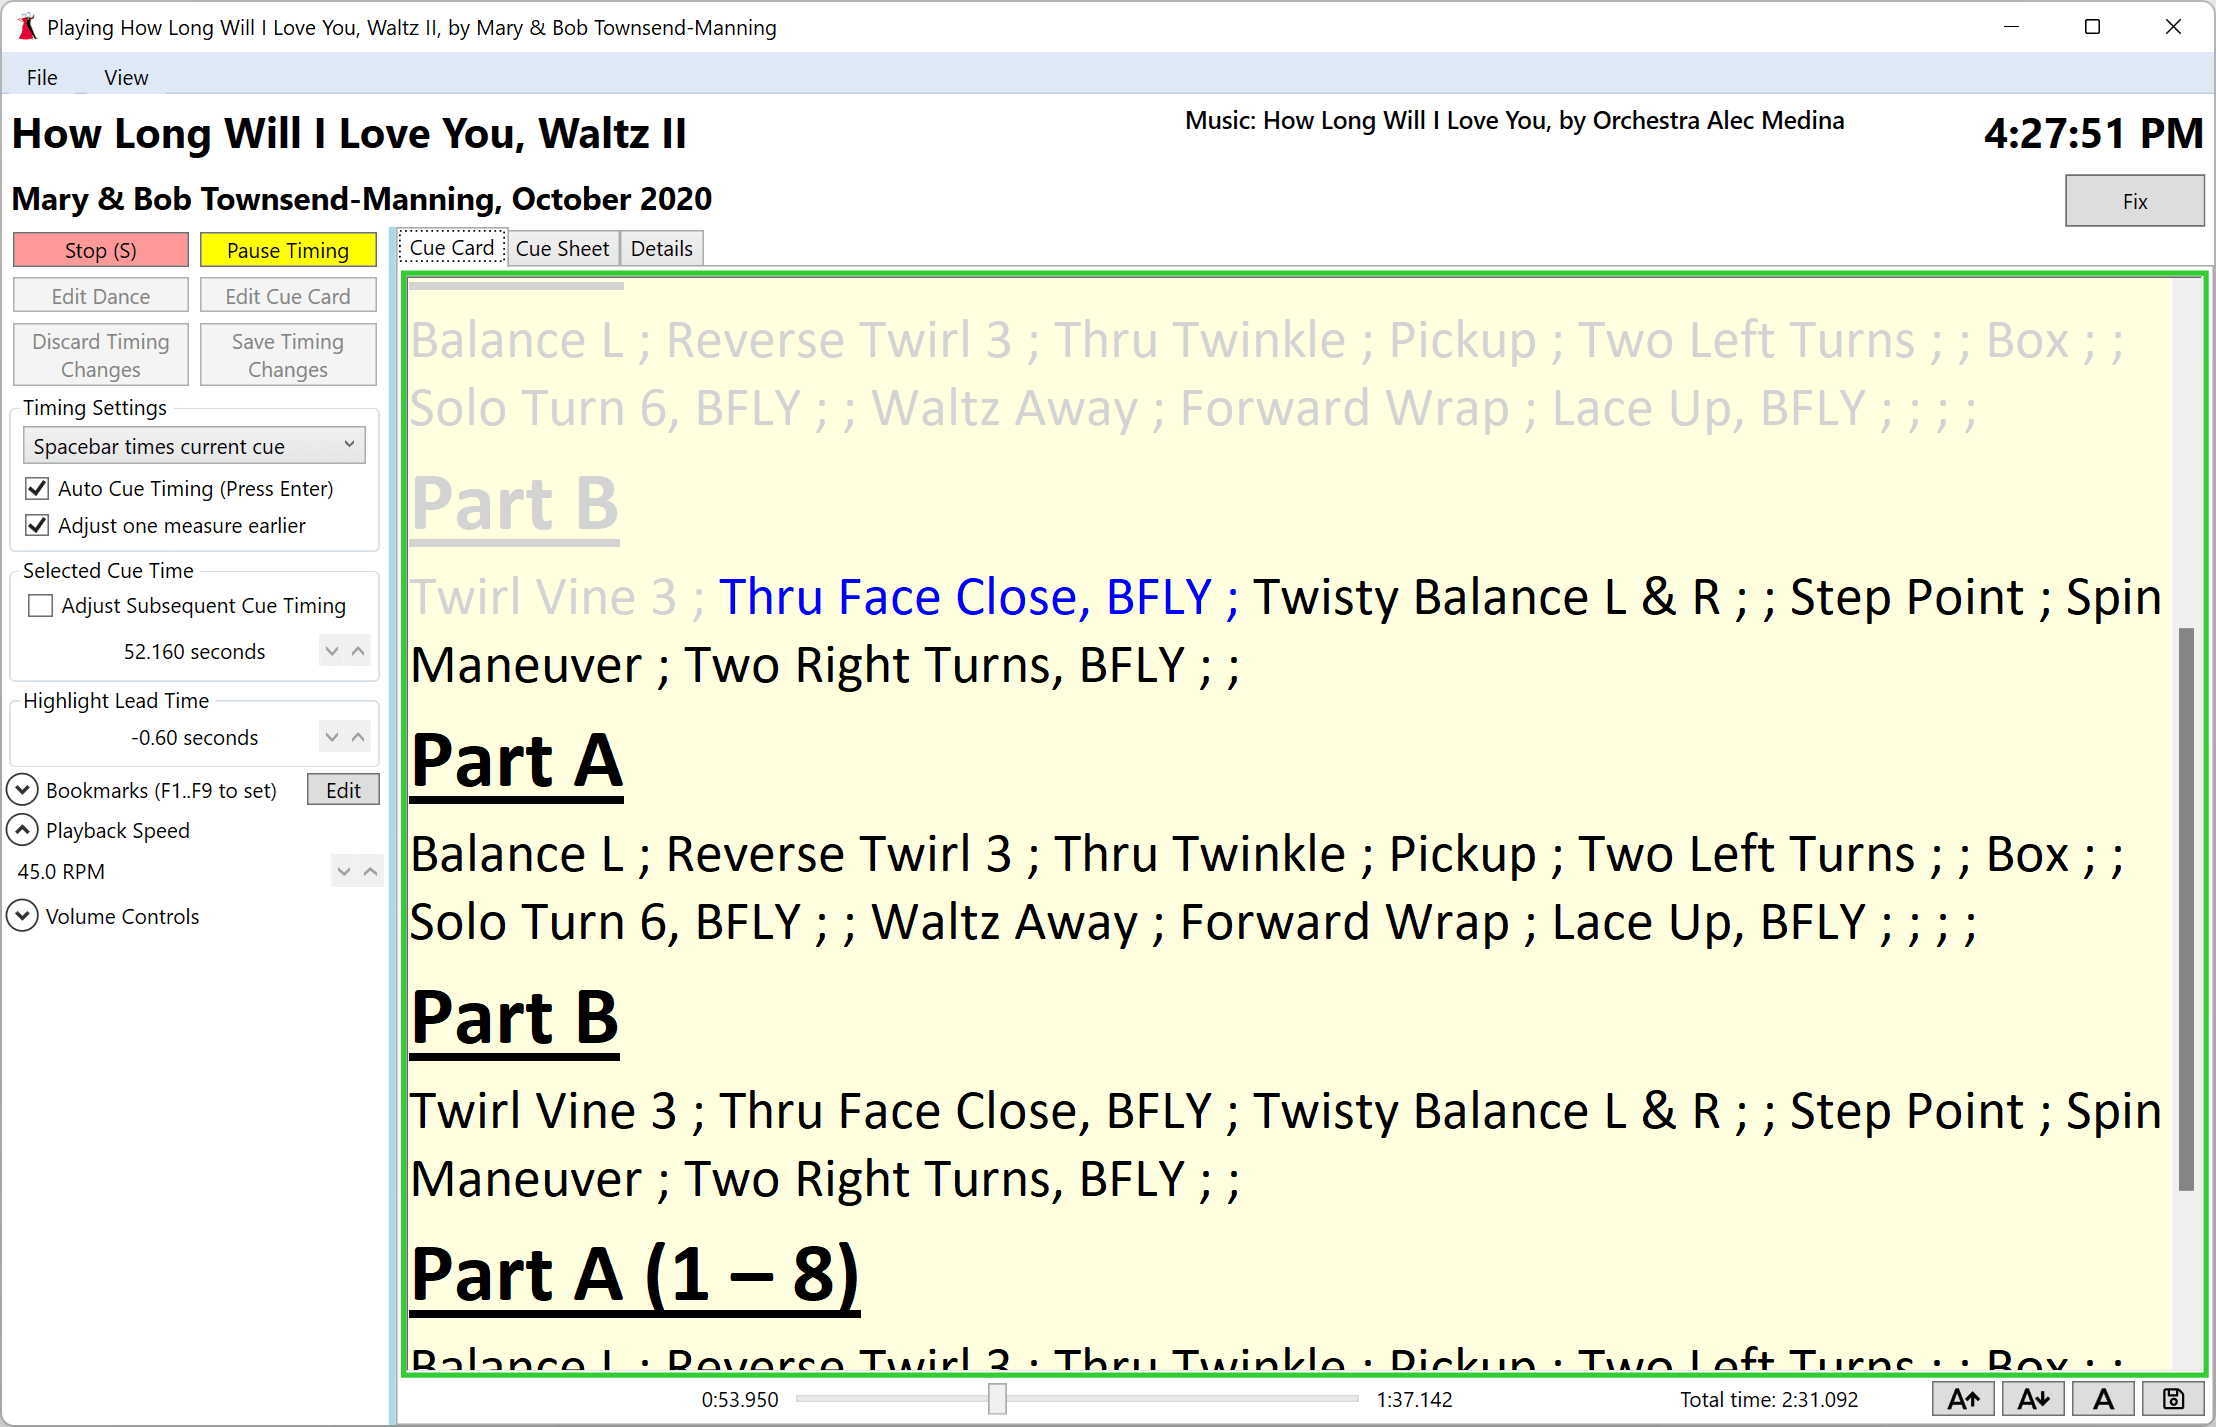
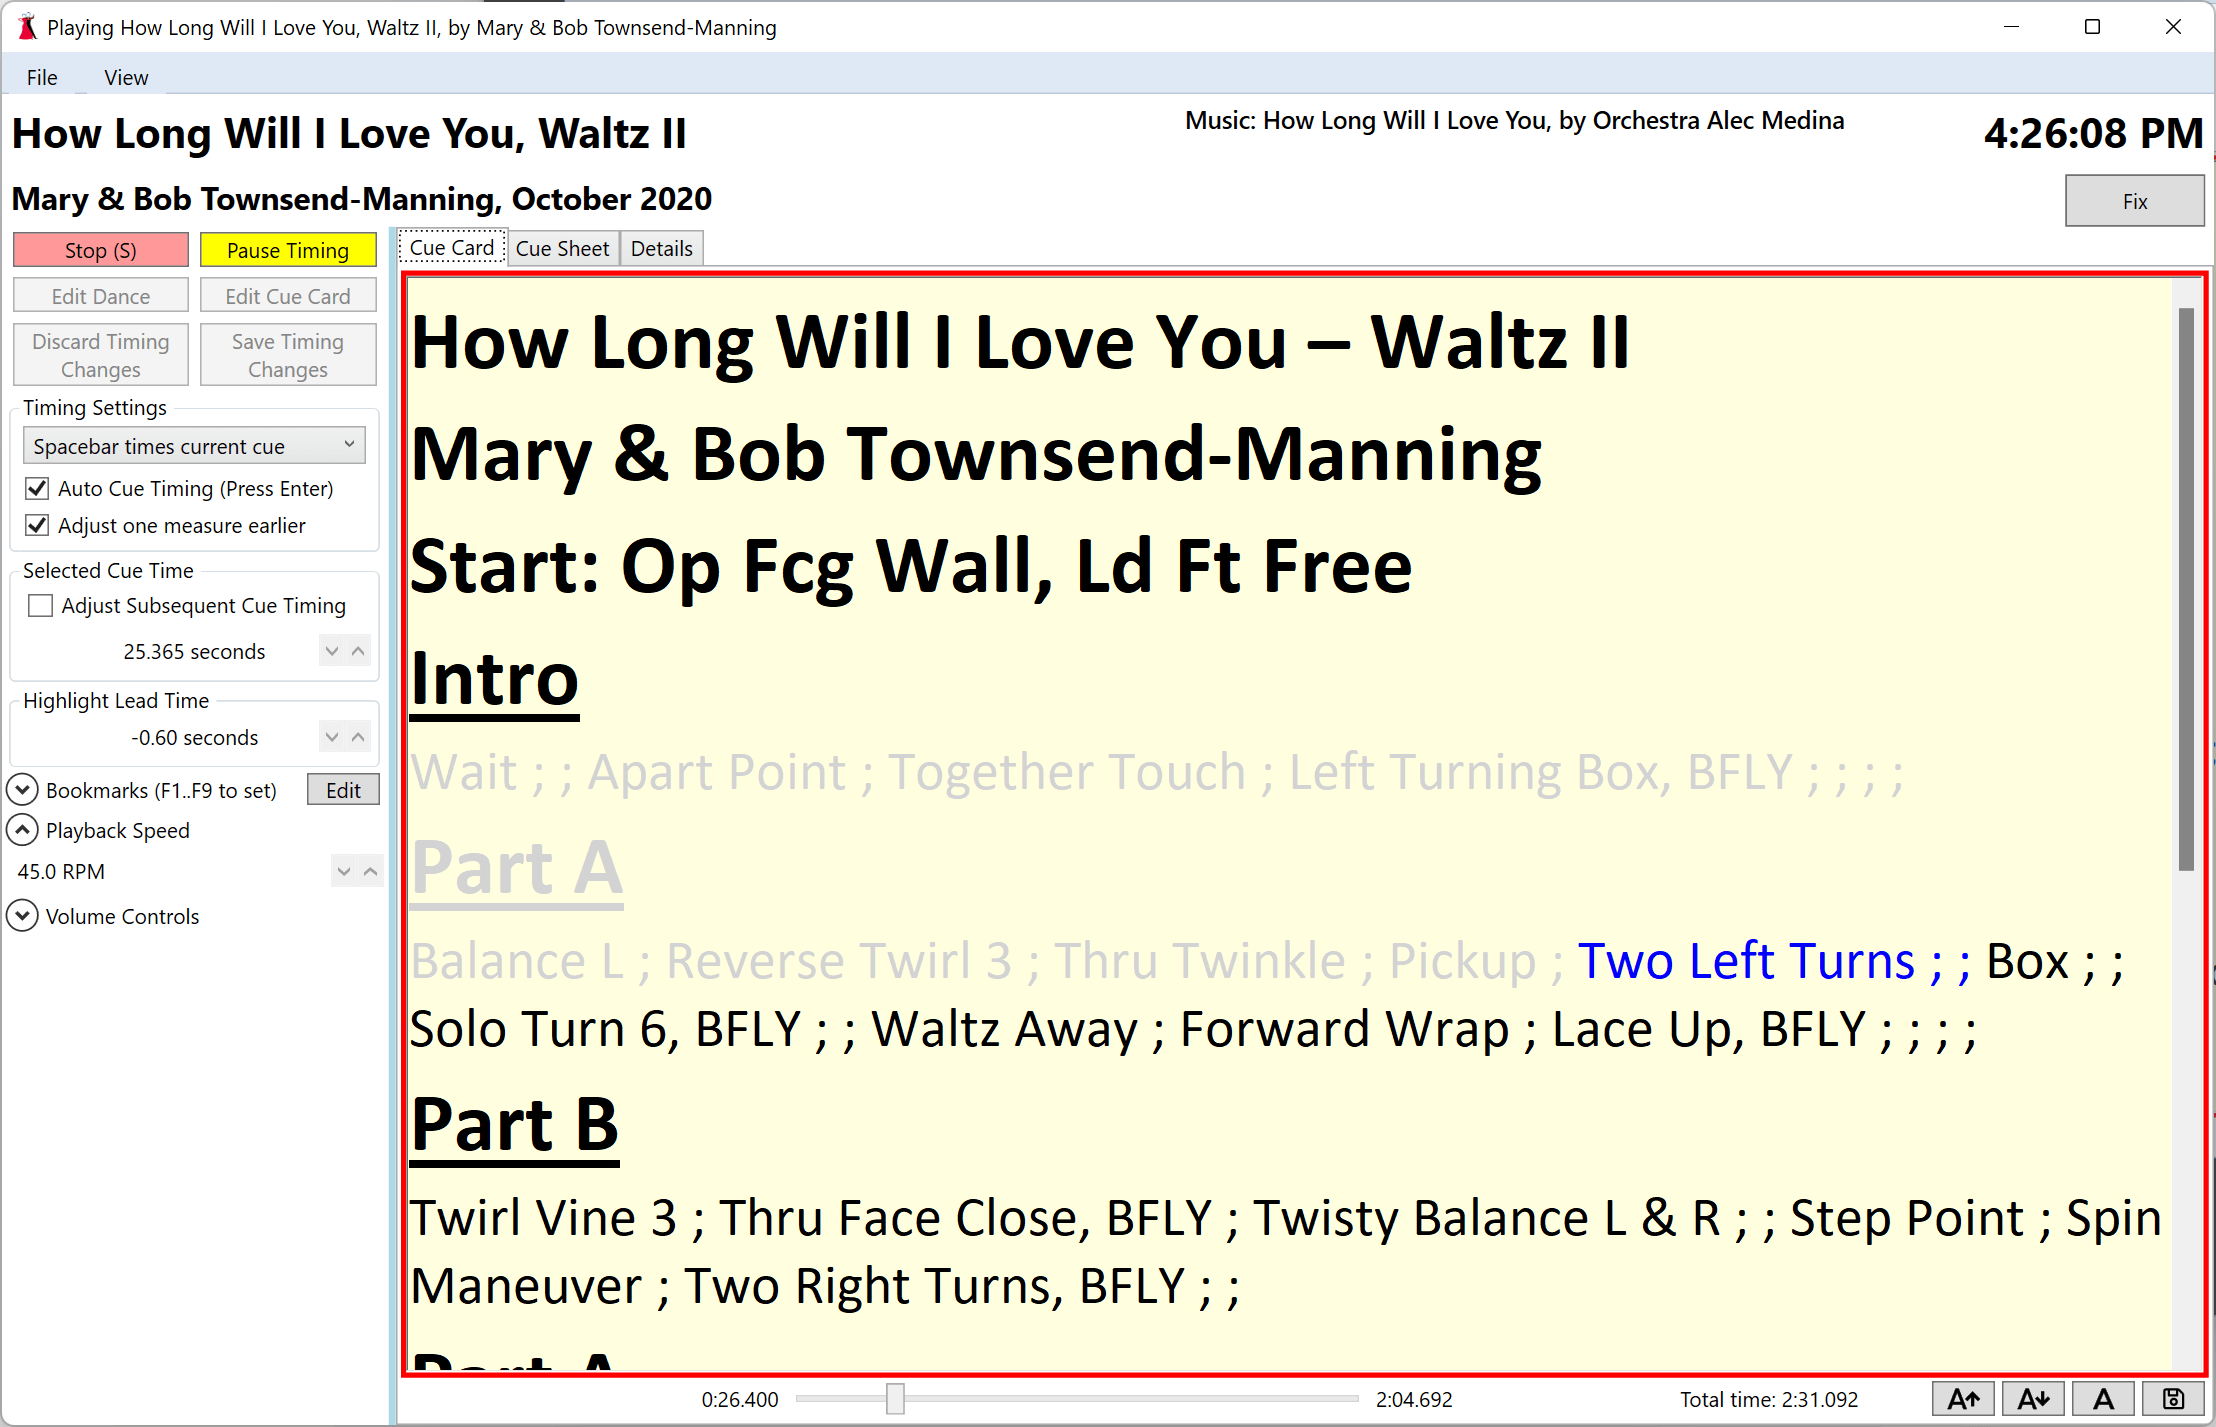
Click on Adjust Cue Timing to display the cue card in timing mode. The cue card displays a light yellow background to indicate this. If Auto Cue Timing is enabled the cue card will have a red border indicating auto timing is not yet available.
If no changes have been made an Exit Timing Mode button is available to take you back to the play window.
Timing Options
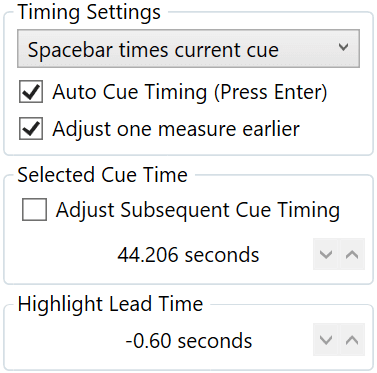
Timing Settings
Use the drop down list to select how you’d like to time each cue.Spacebar times current cue
Select this option if you’d like to time each cue at the point in the music when a dancer would perform the step.Spacebar times next cue
Select this option if you’d like to time each cue at the point in the music when you would like to speak the cue.Auto Cue Timing
See the Auto Timing a Dance for information on auto timing a dance.Adjust one measure earlier (available when Spacebar times current cue is selected)
If set then the timing information you create will be adjusted so that cues are highlighted one measure earlier than dancers would dance the cue. The time for one measure is calculated as an average given the number of measures (this is a count of the number of semicolons) and the music play time for the timed cues.Selected Cue Time
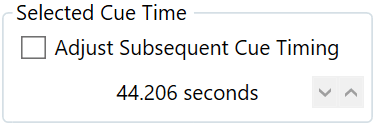
After double clicking a cue to select it the time for the cue is displayed and can be changed.
Adjust Subsequent Cue Timing
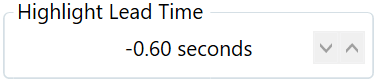
If set then changing the time of the selected cue adjusts the time of all subsequent cues in the dance.Highlight Lead Time
The highlight lead time is how much earlier the cue should be highlighted to provide time to see the cue and prepare to speak it. Decrease the value to have cues highlight earlier; increase to have them highlight later. The default value used for new dances can be modified on the Cue Timing Options section of the Settings window.
Timing Cues
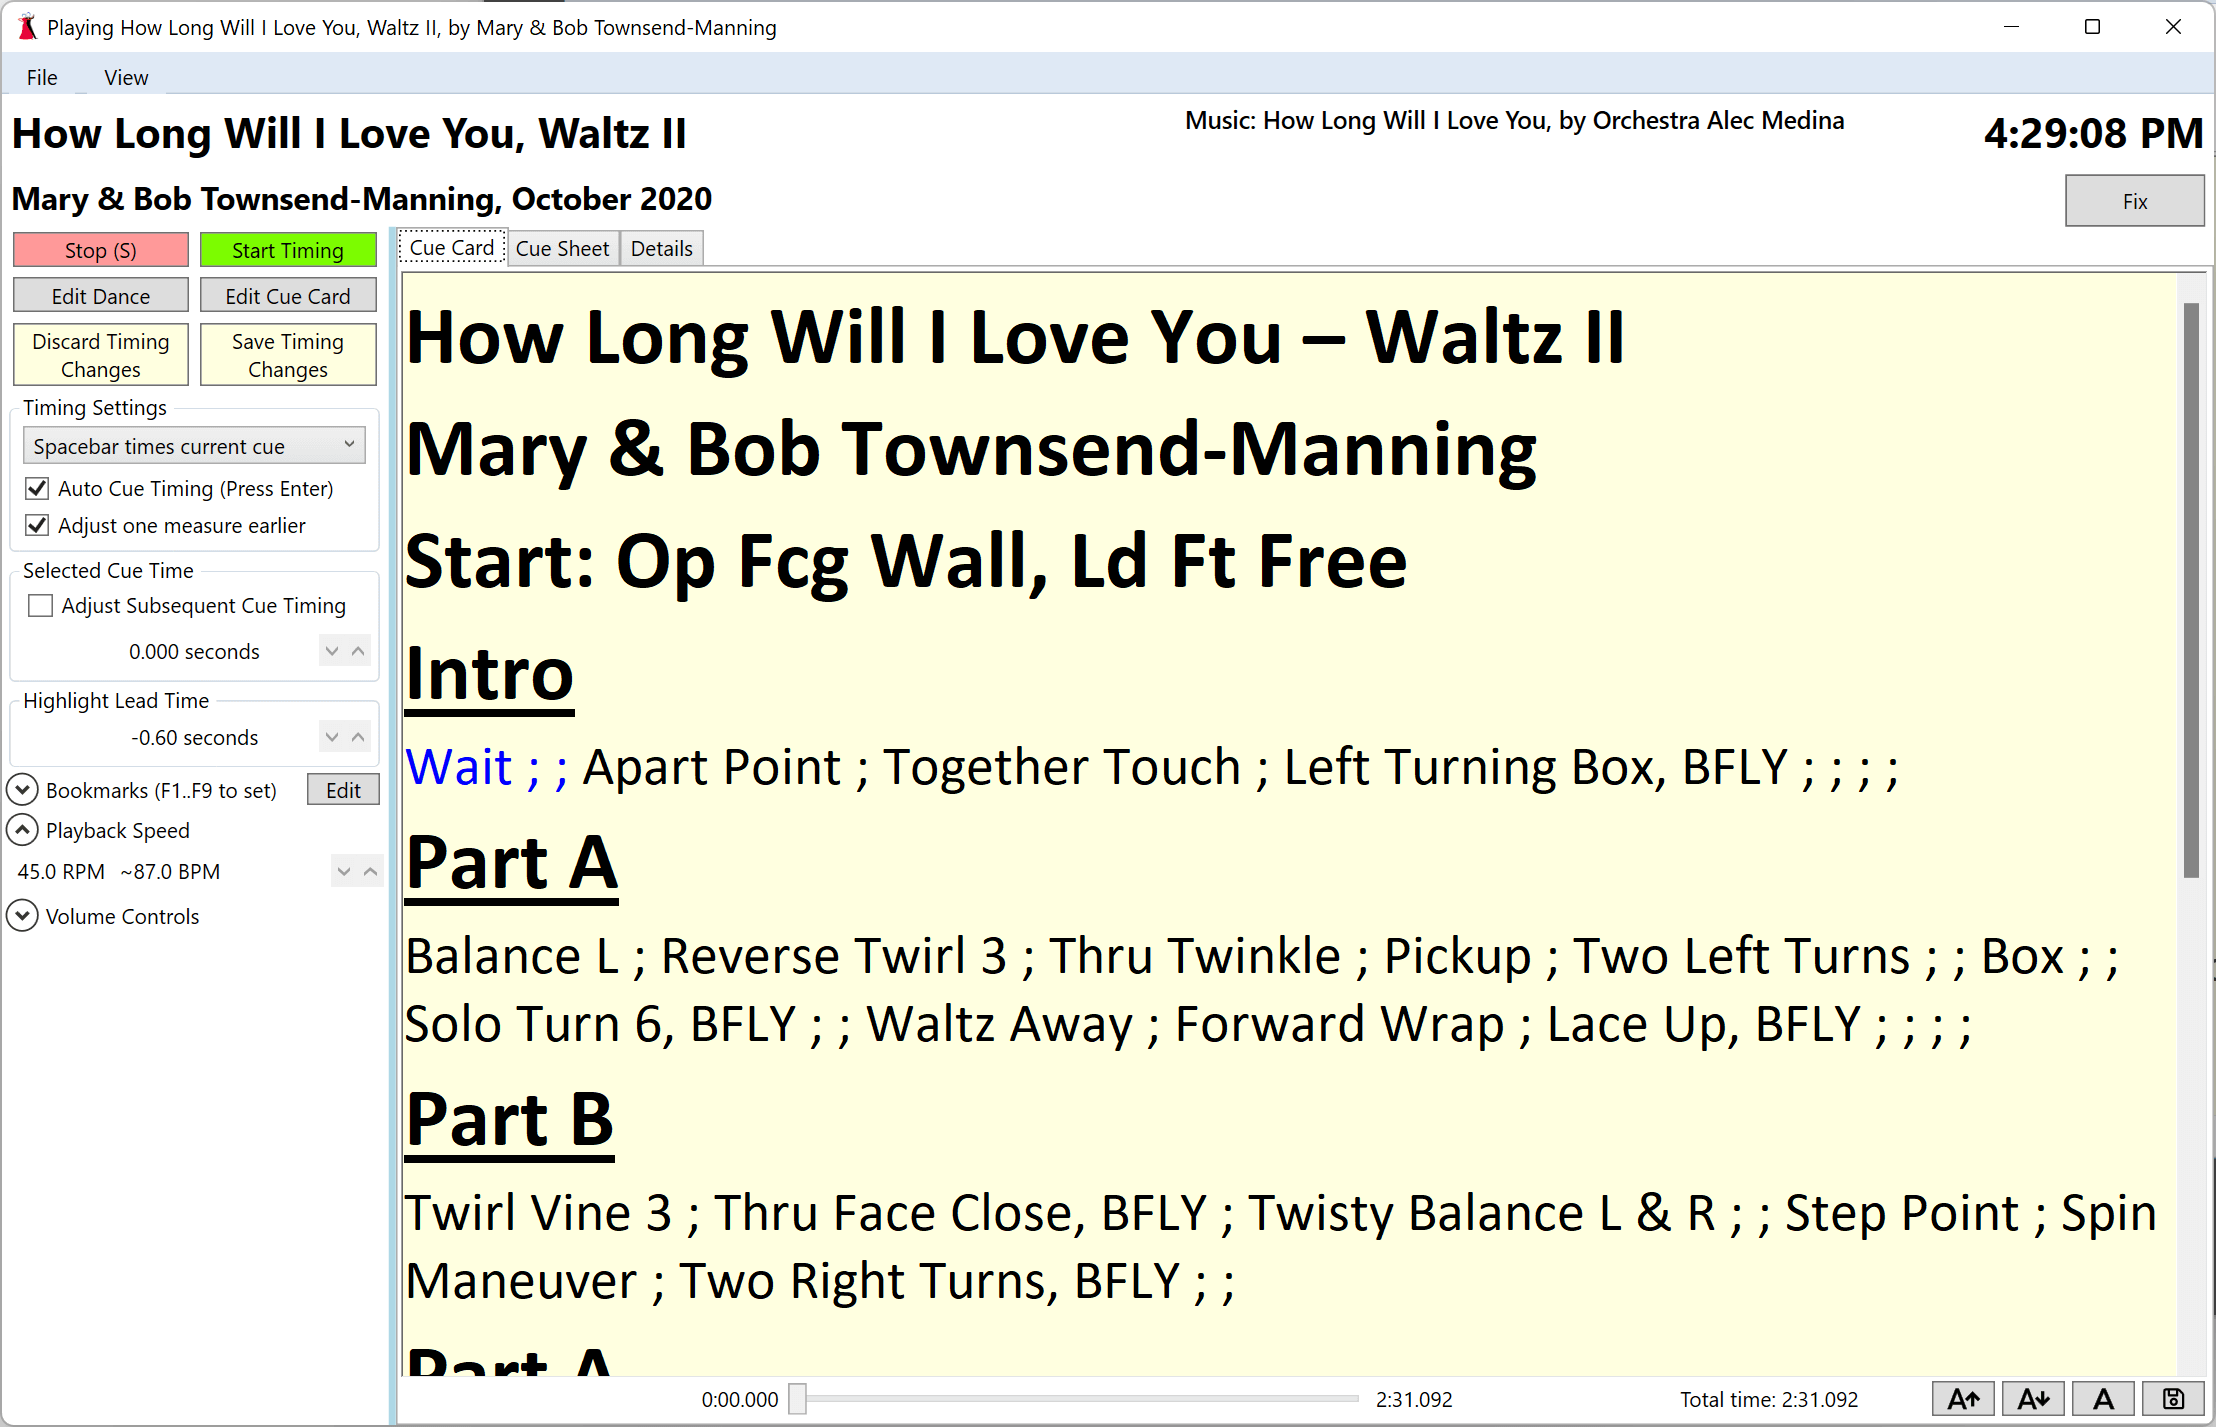
Press the Start Timing button to start timing the dance. The initial cue of the dance will be highlighted.
The spacebar is used to provide timing information for each cue. Each press of the spacebar highlights the next cue and records when in the music the spacebar was pressed. This timing information is used to karaoke highlight the cues when you later play the dance.
If you have Spacebar times current cue set, press the spacebar at the point in the music when the dancers would dance each cue. If you have Spacebar times next cue set, press the spacebar at the point in the music when you would speak each cue.
Continue timing each cue of the dance until the music ends.
If you are satisfied with how you timed the dance press Save Timing Changes to save the information. This exits timing mode and returns to the normal play window.
If at any point you make a mistake in timing the cues, you can start over by pressing Stop followed by Start Timing. If you decide to not complete timing for a dance you can press Discard Timing Changes to discard all changes and exit timing mode.
Auto Timing a Dance
Auto timing calculates the average time per measure of music while you are timing a dance. After a sufficient number of cues are timed you can have DanceWizard automatically time the remaining cues. This auto timing is done by calculating when each cue should be highlighted based on the average time per measure.
Important Note
Auto timing is performed using a calculated average time per measure. For dances that aren’t constant rhythm the calculated cue times may be off. This can be fairly obvious if the dance has a section that dramatically slows down.
Auto timing was created to solve an issue where you’re almost finished timing a dance and get distracted… it allows you to complete the dance’s timing instead of starting over.
Enable auto timing by checking the Auto Cue Timing (Press Enter) option.
When enabled the cue card displays a red border until sufficient cues have been manually timed.
Begin timing the dance manually as described above.
Once enough cues have timing information the cue card displays a green border.
Once the green border appears you can either continue timing the dance manually or press the Enter key to auto time the remaining cues.